


With the Atlas off and running and breeding activity picking up it appears some Wisconsin birders are confused about where/how to submit sightings to the Atlas. At first blush having two state-based eBird portals may seem perplexing but in reality knowing when to use the new Atlas eBird portal instead of the traditional Wisconsin eBird portal is remarkably simple. We first covered this topic in February here and are hoping to further clarify the issue in this article.
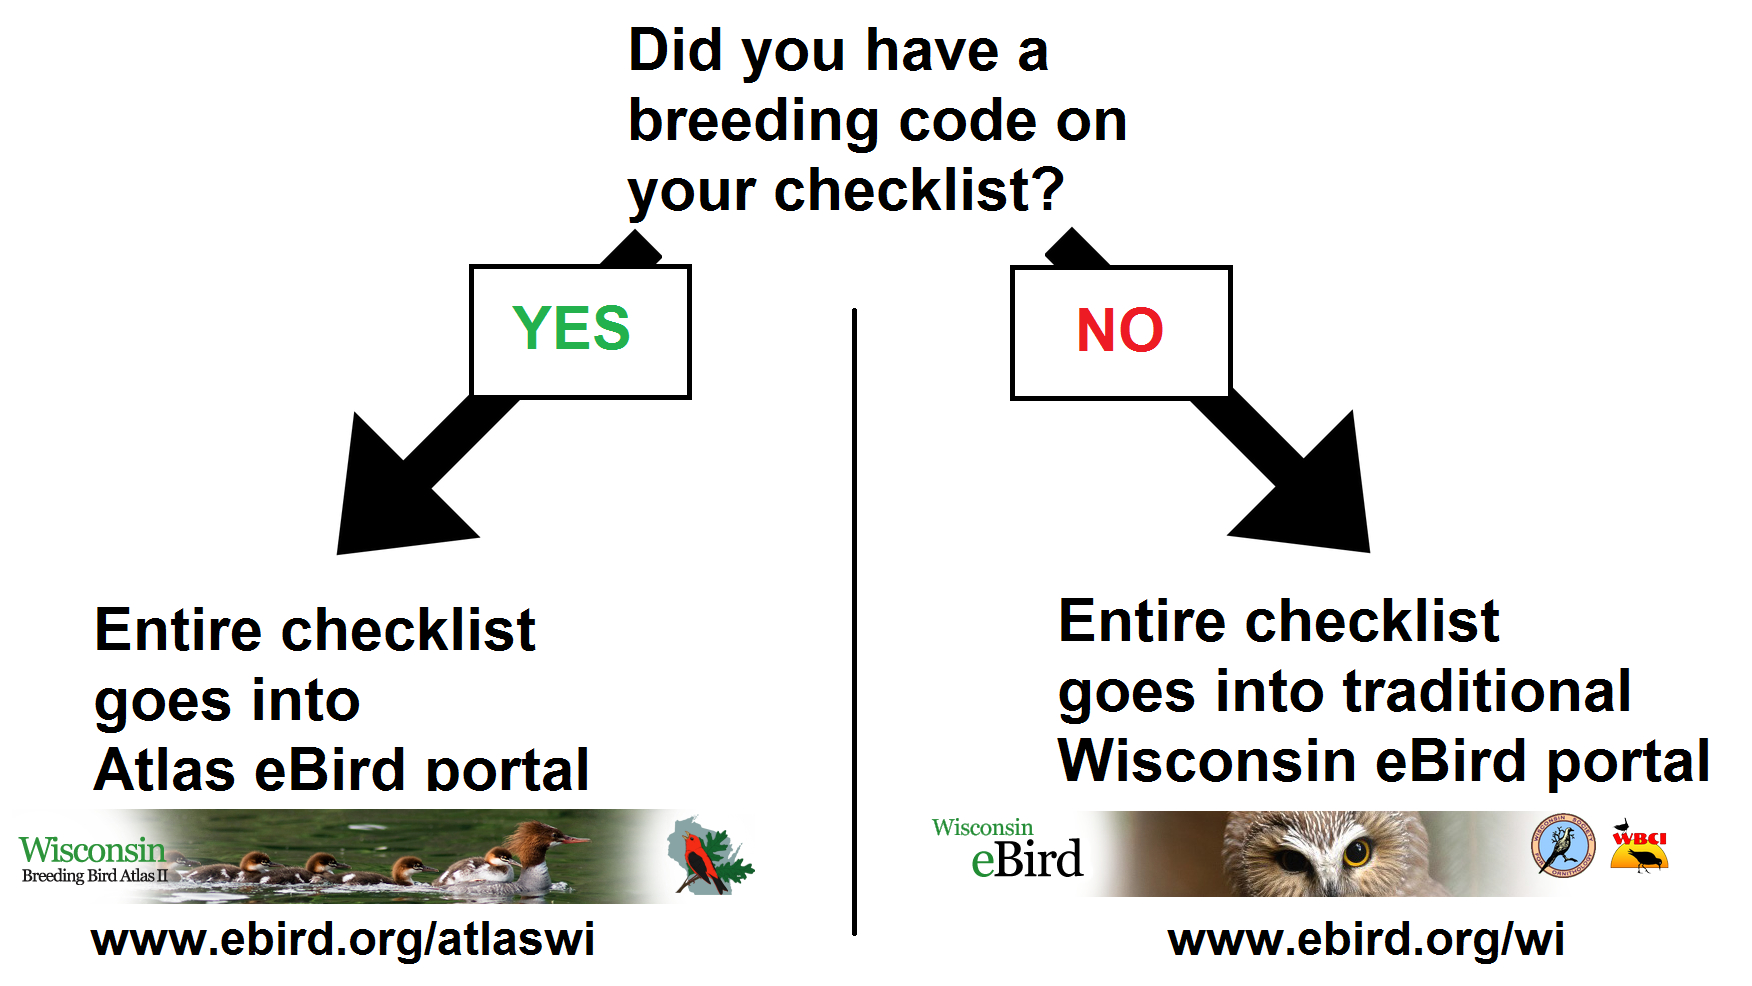
In short, if one or more species on your checklist has a breeding code of Possible or higher, use the Atlas eBird portal. If it doesn’t, use the traditional Wisconsin eBird portal. Even though the Wisconsin eBird portal will accept breeding codes as part of its global system, Atlas observations should not be entered there! They will not be related to the Atlas’s unique block system or integrated into Wisconsin-specific atlas results and outputs.
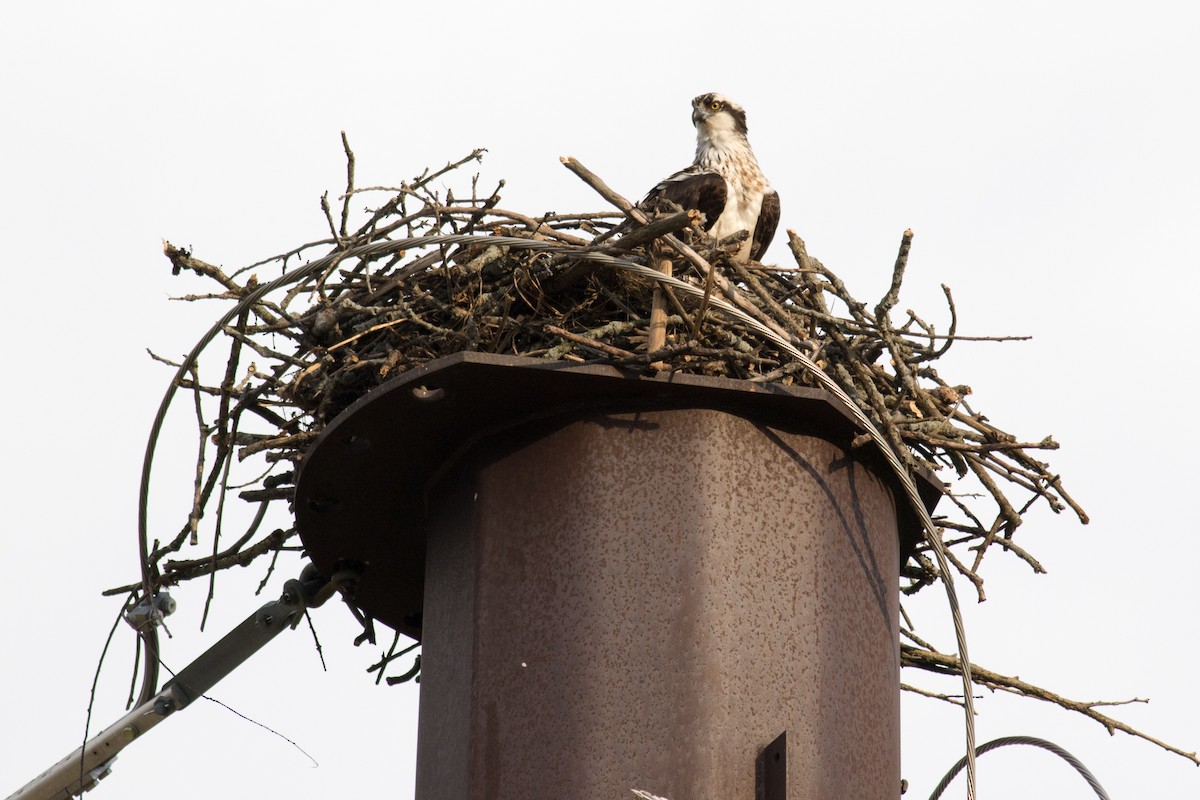
– How do I know if I had a breeding code? The breeding codes include all within the Possible, Probable, and Confirmed categories. Some are obvious, like birds sitting on nests, carrying nest material, or copulating. It may be less obvious whether to enter other breeding codes, like a bird seen or singing in suitable habitat. For these, consult the Breeding Guideline Bar Chart to determine if breeding is expected in your area at the time of observation. Further guidance about the bar chart and breeding codes is here. If in doubt, err on the side of submitting to Atlas eBird, it will be easier for us to sort observations out later if we have them all in the Atlas portal.
This will get much simpler in June when just about every bird you see is potentially breeding, but right now there are many common species breeding like American Robin, Rock Pigeon, Mourning Dove, European Starling, Northern Cardinal, Black-capped Chickadee, and American Crow, so you should be using the Atlas Portal much more often than not from now until things slow down in August!
Remember, all it takes is one or more species with a breeding code to put the whole checklist, including those birds on the same outing without breeding codes, into the Atlas eBird portal.
– What happens if I use breeding codes on the non-Atlas portal? Again, your observations will not end up in the Atlas! They will not show on the Explore a Region page for the Atlas. They will not show on Atlas-specific maps (in development). We cannot be sure that your point falls within the correct block, because only the Atlas eBird portal has the block overlays when you are submitting data.
– How do I know which portal my checklist is in? Just check the upper left part of the screen when entering or viewing the checklist. The atlas portal should look like this:
![]()
Whereas other portals look like this:
![]()
– Oops, I submitted some checklists to traditional Wisconsin eBird portal when I should have been using the Atlas eBird portal, now what do I do? You can fix it! Here’s how.
Step 1: Find the checklist(s). Starting from the Wisconsin eBird portal, go to the “My eBird” tab and click “Manage My Checklists” on the right side.
Step 2: Click “View or edit” to pull up the checklist you want to change.
(Note that some atlas checklists may show up as “Archived” here. This is a glitch we are working to fix and shouldn’t concern you right now. These checklists are in fact editable when accessed from the Atlas eBird portal.)
Step 3: Open the Checklist Tools menu, go to “Change Portal”, and change it to “Wisconsin Breeding Bird Atlas”. Hit the green “Change Portal” button for it to take effect.

Step 4: Verify that the location you birded corresponds to a point in the correct atlas block. To do this, you will need to open up the map in eBird that shows your location in relation to the Atlas blocks. To do this, right-click on the “Submit Observations” tab to open the page in a new tab or window (and thus leave your checklist still open [on a mac you need to hold “ctrl” and click]). In the box called “Find it on a Map”, start typing the county name where your observation was. The county name will pop up, click on it, and it will take you to a map showing the Atlas blocks.
Step 5: Zoom in on the map using the plus sign on the right hand side of the map. Click and hold to drag the map. As you zoom in you should see your point where you plotted the observations. Is the point correctly in the block where you saw the breeding birds? Is it very close to the edge of a block? You may need to edit your checklist or submit another adjacent checklist to make sure all of the birds reported are in the correct block.
Step 6 (only if corrections are needed): If you need to edit your checklist you can do this by going back to the checklist you left open in the other tab (If you closed it and you need to find it again, go to My eBird, Manage My Checklists, View or Edit). If you need to enter a second checklist to account for birds in another block, you can do this from the map window you currently have open (If you closed this and need to find it again, go to Submit Observations, Find it on a Map, enter county, plot a new location on the map, and enter a new checklist).
If you’re still having trouble, please consult our tutorials on Submitting an Incidental Observation or Submitting a Complete Checklist or email us at atlas@wsobirds.org.